Showing posts with label Featured Blogger. Show all posts

8.25.2011

Making It With Allie Featured Blogger: Maureen from Release Me Create

Welcome!
Today I am super excited to bring you a guest post from the adorable
Maureen from Release Me Create
If you haven't been over there, you should have a visit, it's fun!
And drop her a comment to say for me too!

Not only has she wrote a great post for you today,
she is also including a giveaway with her guest post!

Scroll down after her post to see how to enter!


Hello Everyone!
My name is Maureen and I live over at Release Me Create.
I'm so very excited and honored to be guest posting with you today on Allie Makes!
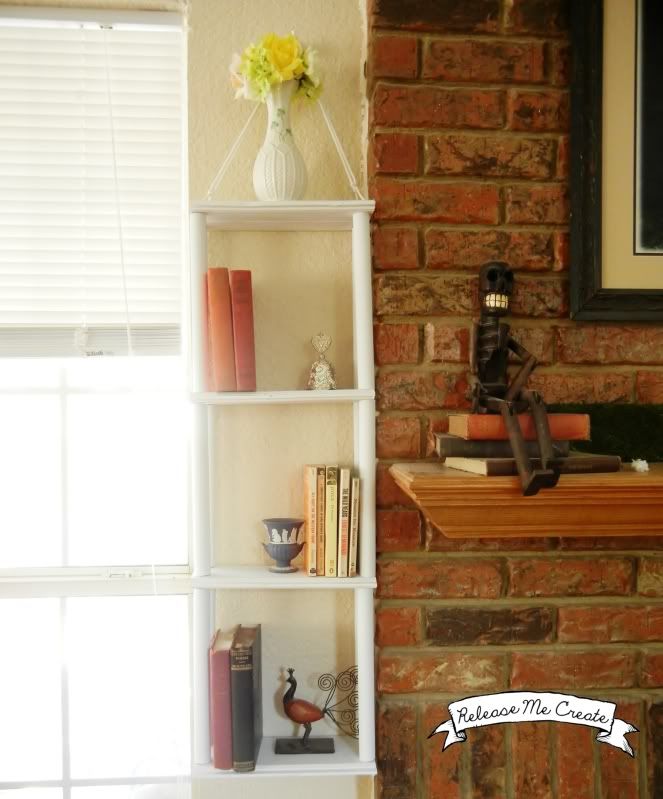
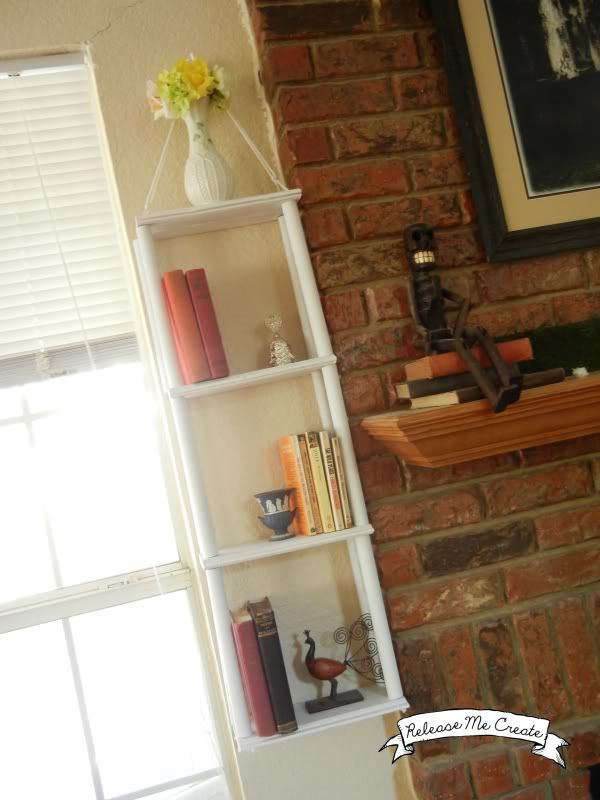
Today I'm going show you how to make this cute little dangling column shelf:
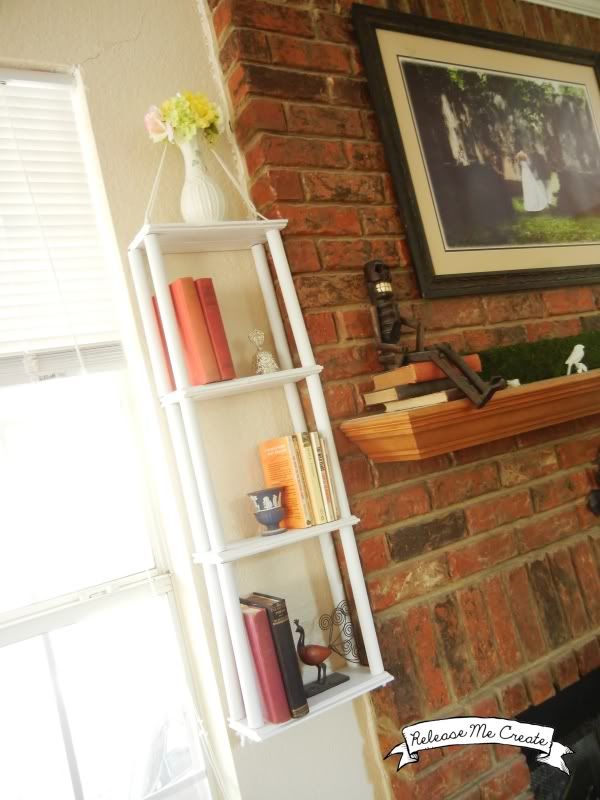
So, lets get started.

WHAT YOU WILL NEED:
4' Board (Not too thick, I used some sort of cheap panelling that I found in the Home Depot bargain bin)
1/2" PVC Pipe
PVC Pipe Cutter Thingy
1/4" rope
Drill
Saw (Mechanical or Handheld)
Wall Hook
White Spray Paint

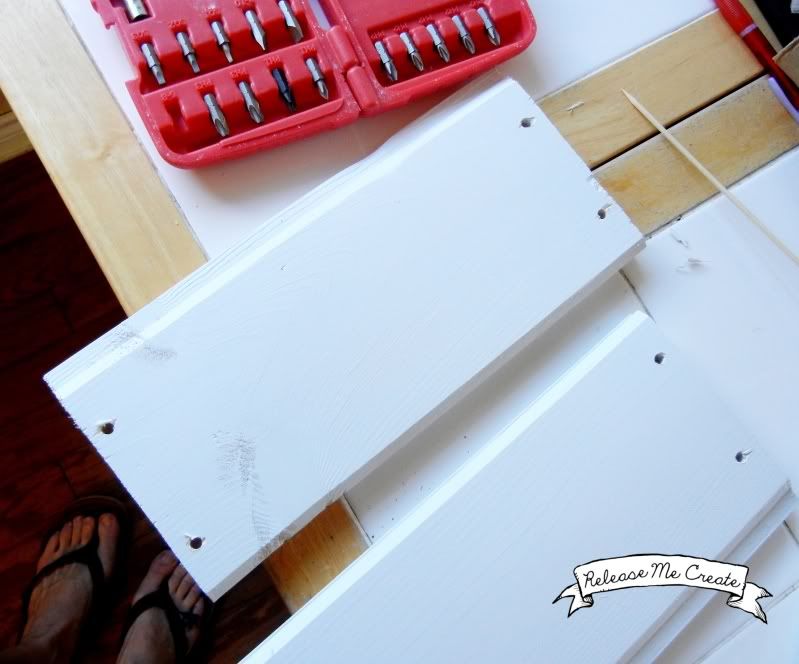
First, I cut my 4' board into 1' pieces (Okay, I had my husband cut them for me with his circular saw...I am not to be trusted with sharp objects). I spray painted them, let them dry, and then drilled a hold in each corner of one piece.
Next I cut my PVC pipe and cut it into 1' pieces using my husbands handy dandy PVC Pipe cutter thingy.
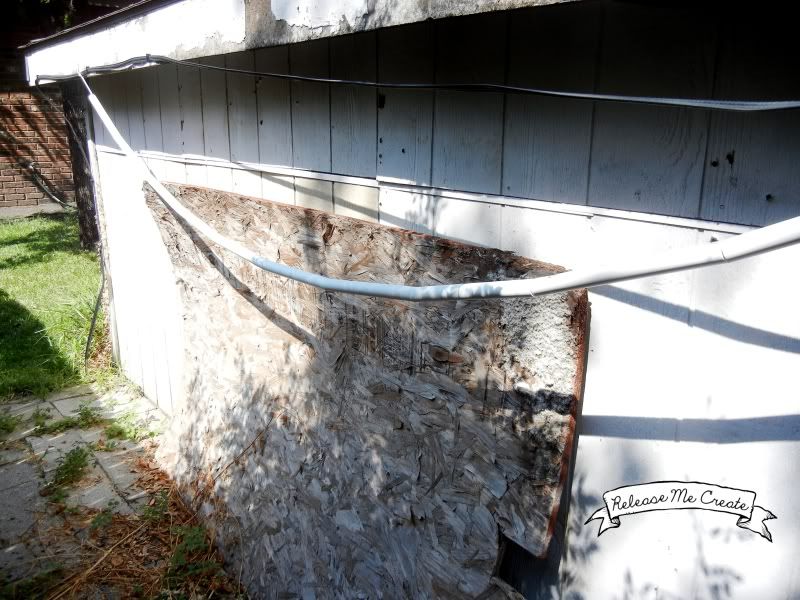
The pipes have writing on them to indicate size and type, so I had to spray paint those too. Here is my setup behind our shed for painting them without them rolling around.  I just strung them onto the string and tied it up on both sides.
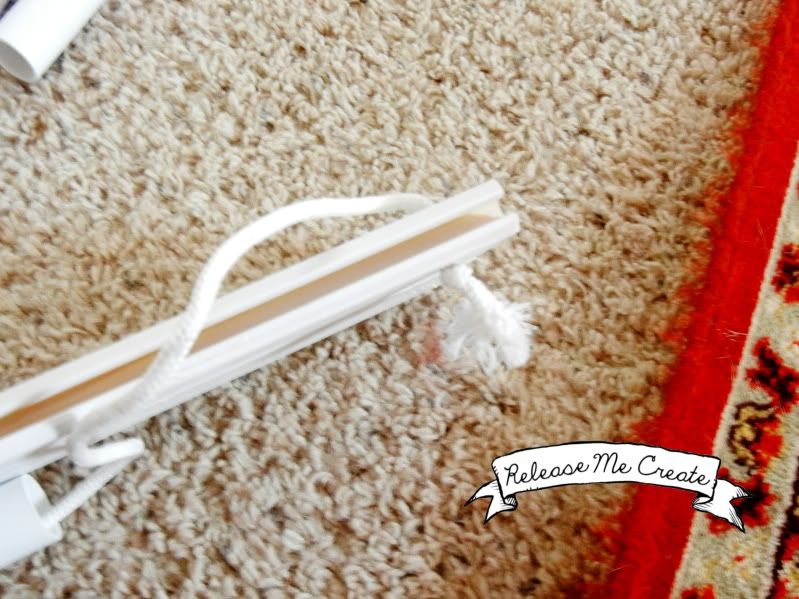
After they were dry I began assembling the shelf. I threaded the rope through the bottom hole on on one of the boards and I tied a knot in the end of the rope so it would not pull through.
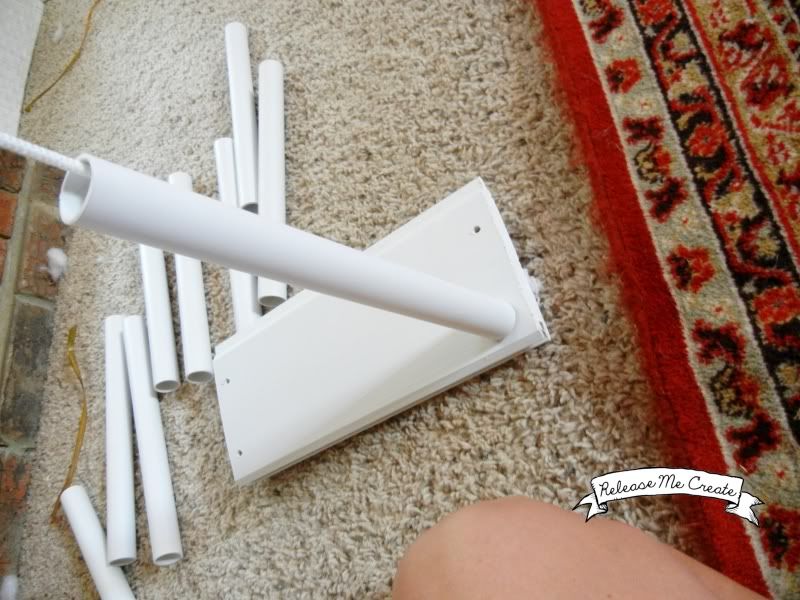
Then, I slid one of my PVC pipes onto the rope.
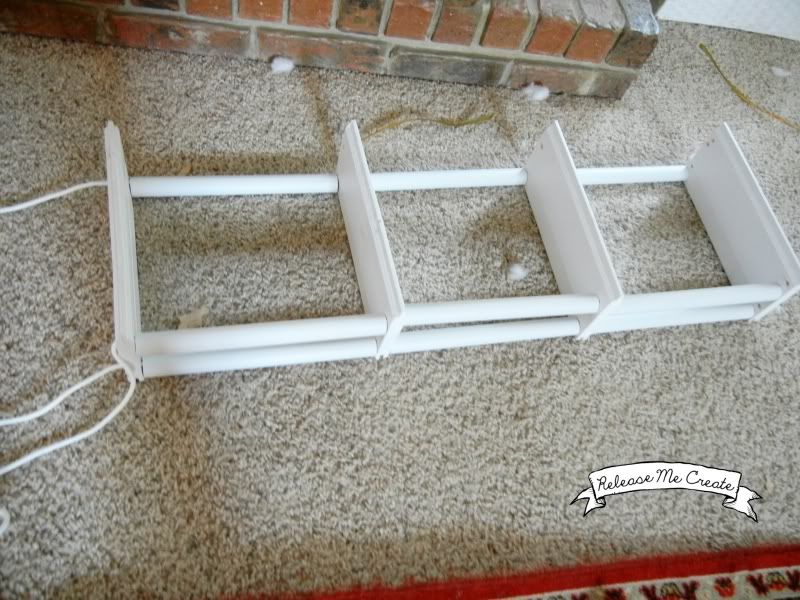
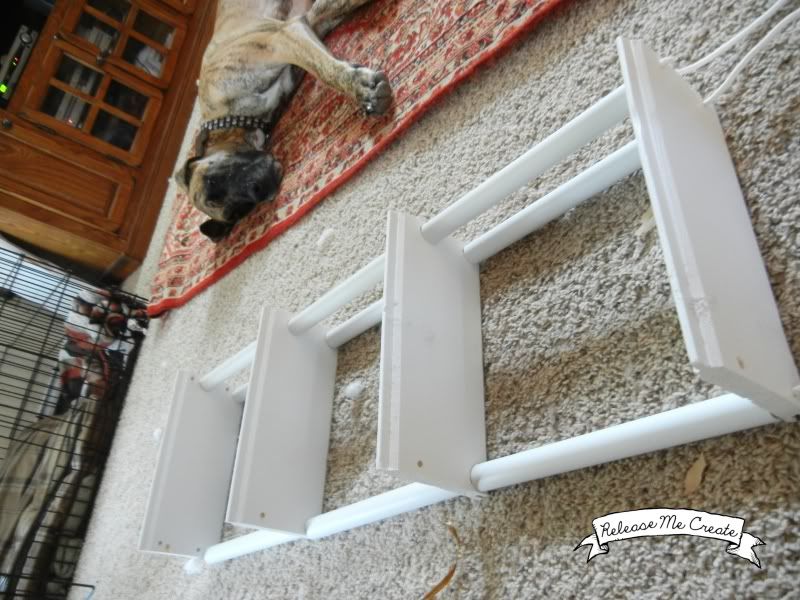
I did that same process for all of the holes, and just started stacking them together:
As you can see, the project overseer was close by, making sure everything was going smoothly:
I installed the hanging hook into the wall, tied up the ropes at the top making sure everything was even, and VOILA:

Now I just need to make one more for the other side of the fireplace.  And then the next project is to paint the mantle white to match the shelves.  I'm still trying to win that chess match with my husband, but he will cave and I shall have my white mantle :)
I hope you enjoyed it!
I would love to see what you make with this tutorial!  Feel free to customize it and make it your own  Just pop on over to Release Me Create to show me what you do!!
MyFreeCopyright.com Registered & Protected


Thank You Maureen!
The hanging shelves are fabulous!

Maureen is also feeling so generous, she is going to give one lucky follower a piece of her adorable jewelry from her store!
She has some really fantastic items there!
Check out this adorable necklace she is offering up!


So, I can hear you asking:
How do I win??

It is very simple!
1: Be a follower of both Release Me Create and also AllieMakes!
2: Leave us each a comment telling us that you are a follower
Do this by Wednesday, August 31st
Winner Announced September 1st


So, go on! link up your projects and leave us a comment to enter to win!

Welcome to the
Making It With Allie Party!
What have you got this week?
I am anxious to see!
You all are SO inspiring, I can't wait!
So, grab a button (below) or a text link is fine too.
Follow along if you like what you see.
I want to visit all of your links,
so link up your direct post, not your main blog page!
 Feel free to link up as many links as you would like,
let's just make sure they are not just pages to sell product...
And visit some of the others and share some comment love!
Party Button
 

If you have issues linking your post, feel free to email me and I can add it directly :)


Blog Signature

2.24.2011

Making It With Allie - Featured Blogger - Me and My Thrifty Ideas

Welcome back to this week's
Making It With Allie!
I am Super excited to introduce you to this week's party sponsor!
A new BbF of mine and her name is Amy!

She has this SUPER cute blog:
Me and My Thrifty Ideas
SERIOUSLY Adorable AND Thrifty stuff!
You would not believe!!
And this girl is WICKED-SMART!
Especially when it comes to blog-technical stuff...
Ask her, I bet she will help you figure out your issue!!
I am SO excited to have her around!
 SO go and check her blog out and say hi!
Click her "follow" button, cuz you will want to have her posts come up in your reader!
Take it away Amy!

Hi everyone! My name is Amy and I am visiting from mE & mY tHrIfTy IdEaS.
I am so super excited to be here today to share a couple thrifty projects I have made.
Before we get to that I wanted to announce that I just recently reached my 100 Follower milestone!
And decided to celebrate by having a Giveaway!
I figured since this is the cutest blog around I should celebrate in style.  The winner will be randomly generated and announced on both blogs March 2nd.
So please come on over and enter!!
 I am giving out one of my handmade Barn Stars
 

My philosophy for creating/crafting is using what I already have or can get my hands on for super cheap.
 I also LOVE paint chips.  How awesome and free are they though?
 Basically I am a DIYer mom who is tackling home decor one thrifty project at a time.
Today I wanted to share just a few projects that I hope you find interesting...

DIY Twine Decorative Balls
Going Strong Sign
Easter Egg


Thanks again to Allie for allowing me to strut my stuff!  
I would love for you to stop by, say hello and stay awhile.

Thank You Amy!
 And guess what??
I am going to give away a kit to another lucky winner
that includes all of the stuff to make yourself one of the Barn Stars!
 So, here is what you have to do to enter to win!
~Make sure you are a follower both here and over at Amy's
(This is a must to be eligable)
~Leave a comment on either blog on
where you will put your Barn Star in your home
So this means, if you leave us both a comment you actually have a better chance of winning,
 as there will be two drawings.
 The winners will be announced at both blogs on March 2nd.
 So, good luck!!
Now, Let's get to the
Making It With Allie Party!
What have you got this week?
I am anxious to see!
You all are SO inspiring, I can't wait!
So, grab a button if you can (below).
Follow along if you like what you see.
I want to visit all of your links,
so link up your direct post, not your main blog page!
 Feel free to link up as many links as you would like.
And visit some of the others and share some comment love!
Party Button


Blog Signature

2.17.2011

Making It With Allie – Featured Blogger - Mama Says Sew

Welcome everyone!
Can you all bellieve we are half way through February already?!
I sure can't!

I am super excited to bring you a Featured Blogger for this week's
Making It With Allie Party!

I want you all to meet Terra, from Mama Says Sew!
You will love her projects like I do, I am sure!
After you link up your projects, hhop on over and say HI to Terra for me!

Hi everyone!  I'm Terra from Mama Says Sew.  Since a picture is worth a thousand words, instead of telling you about my blog, I'll show you some of my favorite projects.
 
              Ruffle Flower Leggings                                  Ruffle Flower Scarf                                         Burlap N' Blue Lamp    
Okay, now on to the real purpose for my visit here.
Today I am going to teach you how to make these fabric flowers. All you need for this project is a solid colored fabric, some tulle {which is optional!} and a glue gun. For the red one pictured, I left out the tulle {because I couldn't find any that matched}.                      
Start by cutting circles.  You need 9 circles of your solid fabric and 8 of tulle.
For the first 6 circles, start by stacking your solid color on your tulle.
Fold in half, with the tulle on the inside.
Wrap the ends into a cone shape and secure with a dab of glue.  The arrow shows you where your glue should go.  If you press with your fingers, the glue should hold all layers of fabric.  Be careful not to burn yourself!
Here is what the cones should look like:
After you've made 6, glue them onto another one of your circles.  I just used a very thin line of glue down the "seam".
The last two circles we'll make a little differently.  Start by folding them in half the same way as the other circles.  Then fold them in half again so they're now folded into quarters.  Secure with another dab of glue, as shown by the arrow.
Glue the last two folded circles into the center of your flower and there it is! This is a super fast project.
I think mine looks great paired with this pretty jacket I picked up at a thrift store for 50 cents. Yep, that's right.  Go thrift stores!
You're welcome to stop by my place anytime! Thanks for having me today Allie!


Have you visited my Linky-Party Directory?
I like to link my projects up on all the places there!
If your linky party is not listed because I have not linked there, or maybe don't know about it -
Please Feel Free To Add It! :)
Thank You Jessica!
So, now it is your turn!
What have you got this week?
I am anxious to see!
You all are SO inspiring, I can't wait!
So, grab a button if you can (below).
Follow along if you like what you see.
I want to visit all of your links, so link up your direct post!
 Feel free to link up as many links as you would like.
And visit some of the others and share some comment love!
Party Button


Blog Signature

2.11.2011

Featured Blogger–Craftionary

Hello friends!
For this Friday’s Featured Blogger, I would like to introduce you to Hani from Craftionary!
Hani is SO sweet! And has truly beautiful crafts that can be found over on her blog.
Hop on over there and say Hi for me!
 
Hello
Crafty readers @ Allie Makes!
I am Hani, from Craftionary
I have a wonderful Husband whom I'm married for 2 years and together we have 
the most adorable bundle of joy; our baby boy
I love to craft and enjoy other people's wonderful ideas too. Just keeping things organized and
knowing my own creativity; led me to blogging. Since my boy is young and hyper active
I work on projects that are safe, as he grows so will we grow @ Craftionary
Thanks Allie for having me here, I am so excited to share a few last minute valentine
gift ideas that make it all special and charming. So, lets get started
1
CANDLES WITH LOVE
  • Just as I saw these simple candles; an idea struck me and I suddenly bought them. I searched for romantic and love quotes on Google and found one wonderful quote that well suited my candles. I then simply printed and transferred the quote to each candle with vinyl sheet and there don't they look lovely now? : )
  • These candles are a very romantic gift for Valentine's Day.
2
MAGNET-HEARTS
  • I wanted to make a magnet for quite a long time and it just suddenly happened that on my last visit to Wal-Mart I just randomly bought magnets. Now I was surfing through my stuff and thought of making something with foam and there the magnet heart came to my mind.
  • This is the simplest thing to make. Just cut and glue the stack of hearts together. You can use any color and any number of hearts depending upon how thick you want it. I used 3 hearts. Then glue the magnet and beads on the back and front and leave it to dry. I used white glue as it dries transparent.
  • I made 2 hearts. One saying "I love you" and the other has our names on it. Both the hearts look great together. : )
3
HEART-MARK
  • Make an easy and instant bookmark for your book worm Valentine. A bookmark is something that will last forever if your valentine loves to read books. Whenever he/she will be reading a book, the bookmark will remind them of you.
  • Draw a template on a piece of paper like the one on the right and cut it. Now trace the half piece on both sides. In this way you will have equal sides.
  • Now cut some hearts from a patterned paper and glue them over. You can use hearts and red color papers. There is a whole lot of paper variety to choose from everywhere these days.
  • Make a simple braid three parts with colors of your choice. I have used red, orange and off-white. Punch a hole at the top of the bookmark and pass it through.
  • Finally make boundaries using thread in the shape of hearts and your bookmark is ready. Give your heart-mark on Valentines. : )
4
EXPRESS WITH LOVE TAGS
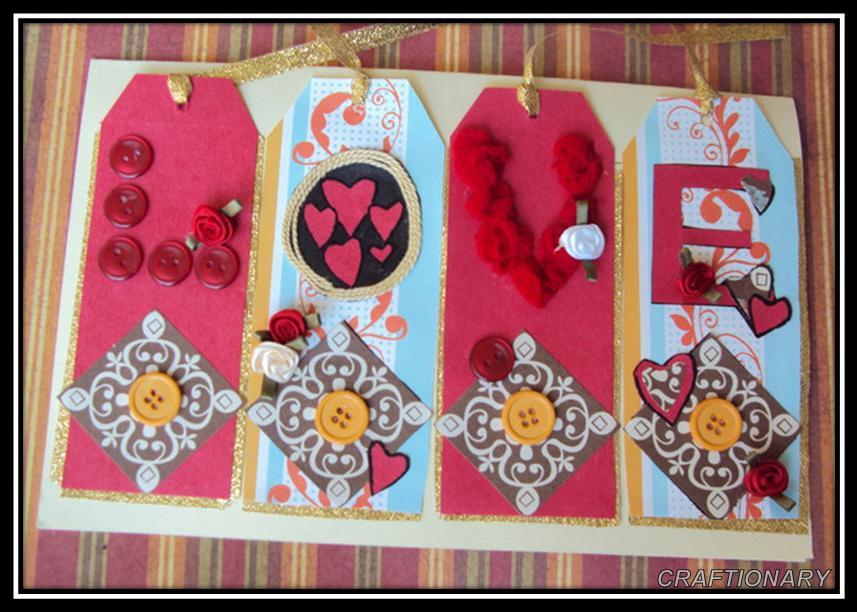
  • Finally the greeting card that is made with love tags. Cut cards into any shape you like. Here I have cut black and red cards into tag shape. Cut a pattern that you like from a paper and glue it over the card.
  • For the out-line use golden ribbon and glue it at the back of the tags to reveal just a thin layer.
  • I crafted the "L" with buttons, the "O" thread and hearts inside, "V" with nylon net ( just cut scraps of nylon net and glue the ends to the card, the shape will automatically be formed) and "E" is simply card that is glued over.
  • A complete buttoned card looks like this. If you wanna give it a try.
  • Finally decorate it with ribbon flowers, cut-out hearts, buttons and any accessory you like.
  • Glue the tags over the greeting card.
  • Here are two different looks of the Tag-Card. Which one do you like better? : )
  • Finally write all that you want inside; it would be a great idea to write your journey with him in the form of a poem, or a quote that defines your relationship.
Hope you had fun with me and these simple last minute ideas for Valentine's Day. 
Have an awesome weekend!
Thanks Hani!
Blog Signature

Labels