6.05.2010

Ashley

I have this little brother, Jason.  OK -Younger brother, he is barely taller than me now. But not prettier.  He has this FABULOUS girlfriend, Ashley.  We love her.  We might like her more than him. She is like a little sister to us. But that's what happens when your funny, sweet, smart, helpful and kind.  OK, I like him too...

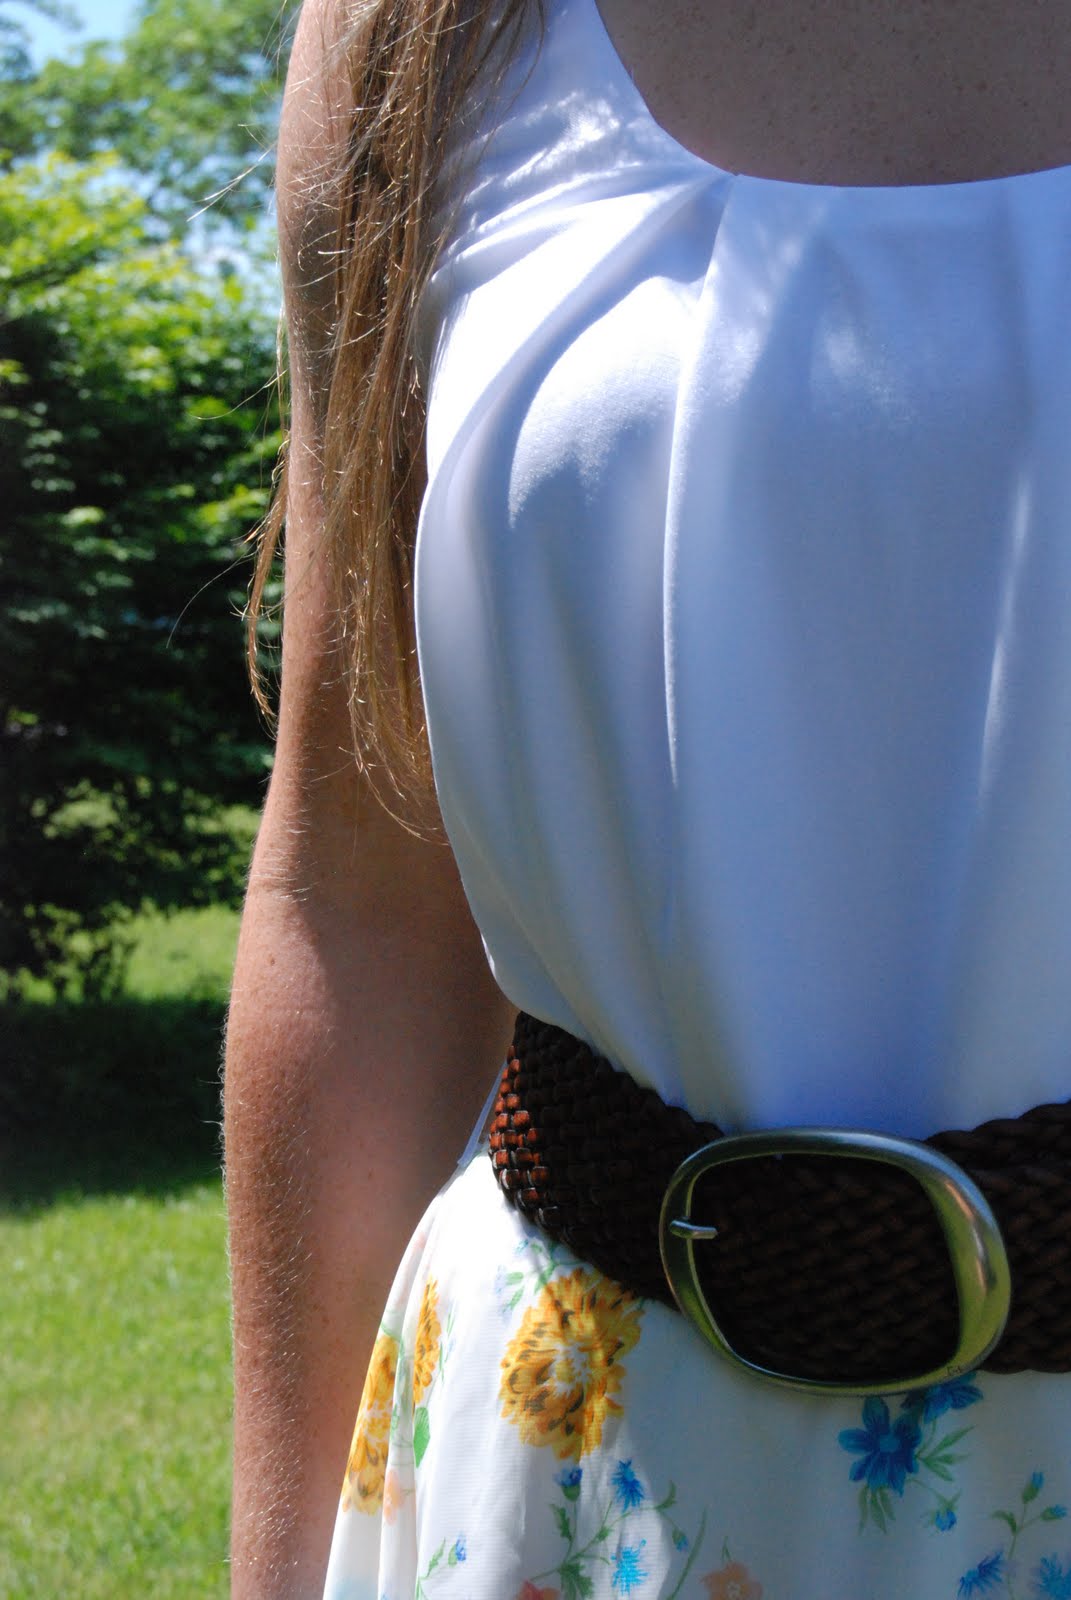
Well, when Ashley was getting ready to graduate, Jason asked me if I would like to make her graduation day dress.  I was very happy to do it.  We went to our local corporate craft vortex and she picked out the fabric she liked.  And I put this together for her.


Thanks Ashley for taking the pics!

6.04.2010

Slippahs Part 1

We LOVE all things Hawaii.  The first time AuBrynne went, she sat back in her stroller (for the first time EVER) and said, "Ah... Home." That's exactly how I felt the first time too! And I have been wearing Slippahs ever since. Almost year around.  If it is snowy outside, I wear them around the  house. 

But here is the really funny thing: the ones bought here on the mainland are just not the same.  First, they are CRAZY over-priced. Second, the patterns of them are definitely not the same. 

So, I decided I wanted to see if I could make AuBrynne some Slippahs with some Hawaiian style.
I made a little tutorial as it was SUPER simple!

You will need the following:
6mm Thick Fun Foamie
Foamies Craft Glue
Fabric of your choice
Ribbon for the part that holds onto your foot
Separate Ribbon at least 12mm thick
Sharp, Accurate scissors
Modge-Podge


First, if you have an old pair of Slippahs, trace one four times onto your foam:


Second, Trace and cut out two fabric pieces.  Make sure to cut mirror right sides of each.  After doing this once, I would also suggest making it so there is over-hang.


Third, Mark and punch holes where the toe thongy part will go and also where the two ends will go down back near the heel, on two of the four pieces of the foam and both fabric pieces.  You should have two foam pieces without holes.

Next, apply the craft glue to the top of the pieces of foam with the holes in it. Do Not Apply the fabric yet.  The glue needs to set up.  About 15 or 30 minutes.  Then lay down our fabric pieces. 

While your craft glue is setting up, prepare your ribbon that will go into the holes by folding a pre-measured piece in half then sewing it together at about 2 inches from the fold.  This will vary depending on the size of your slippah. 


Next, when your foamie and fabric pieces are dried up enough that you can bear the tacky-ness (this will be very messy), poke your thongy parts in. 
Apply some glue to the underside of your top layer and then also the bottom layer.
Let them cure for about half hour and stick them together.  You may need to hold them together until they stay together on their own.
When I got to this point, I let them cure over night.

Then I applied some glue around the edges, waited and applied some ribbon around the edge.
On the next pair, I would fold that extra edge over then apply the ribbon.
Let these cure for another 24 hours. In a safe place where little hands cant get to them and wear them around...
When they have cured to the point they are dry and not tacky, I applied modge-podge to the fabric part and let it dry.


Stay Tuned for Part Two where I will show you how to make a cute Plumeria for the clip on the top!

A Trendy Award

So, there is this excellent blogger, Jennifer.  She has this site called Circle of Love -and all the craziness around it. I like to visit her site because she speaks the truth!

Check out her blog by clicking on this button here:  Circle of Love...and all the craziness around it...

We chat here and there and she left me some kind words yesterday informing me that she was passing on a Trendy Blog Award from Trendy Treehouse.


TrendyBlogAward


I am so very flattered!  Somebody is calling me Trendy! And not other odd things...
Anyway.  To pass this award on I am going to pass it to these fine bloggers, in no particular order:


So, go have a look at these other great bloggers! Leave them a kind note!

And Thank You, Jennifer for the Award!

6.03.2010

Today, AuBrynne Makes

Today, I worked on a few things, but finished none.  So, no pictures of what I made.  But rather than showing you the giant mess AuBrynne can make in 17 seconds flat, I thought I would show you something cute that she made.

AuBrynne got to be an Artist today. 
She even told me she needed an artist hat after a few minutes.
Anyway, too cute.


Ultimately, she managed to get the whole thing painted.  However, all the colors she used to mix together and layer on produced exactly the shade of wood this little bird house was to begin with.  But it kept her busy. 

6.02.2010

Featured!

You ladies are so kind! I have recieved so many kind comments lately! It tickles me! And I encourage you to keep them coming , as the inspire me!  And do share the love with your other blogging friends.

I received and email from Mandy over at Sugar Bee -Craft Edition. She let me that she was going to Feature my Freezer Pop Cozy! And even said she would make one! I am very flattered! And now I get to display this Fabulous button on my blog. YAY!


Check out Mandy's SERIOUSLY crafty blog by pressing on her button:


Mandy holds a Linky Party on Tuesdays called Take-A-Look Tuesday! -Show Off Your Craftiness!


Lots of fun and extremely talented people go there to inspire each other! But I don't really have to explain this to you all. But I would encourage ll of you to check out her link party. Click on a few of the links and leave the a nice note, as you all have so nicely done for me. Link up to her Linky Party and share your ideas! And grab her button and stick it on your blog! And check out Mandy's fun blog too! It's awesome! I'm going to add her site button to my blog too!

Thanks Mandy!

A Quick T-shirt Refashion

So, Little is still sick. And it sure does show in these pics. But it shows how a long sleeve shirt can be VERY easily be turned into a super comfortable dress.  Yes, its 90-some-odd degrees out, but she told me she wanted warm clothes today.  Lovely fever.  Anyway, the shirt worked perfectly because it already had the little rhinestone detail. Till tomorrow!


Have a look to the right to check out the sites with excellent Linky Parties I linked this to!

6.01.2010

Freezer Pop Cozy

AuBrynne has had this summer cough growing for the last couple of days.  And she told me her throat "hurted".  So, it's keep hydrated and keep the fever down. You all know the drill. 
Luckily, AuBrynne loves a sippy-cupa-water.  But I know if she is telling me her throat hurts,
well, cold water isn't going to be enough. 
She loves the freezer pops, but within a few moments of handling them, her little fingers are frozen.  Now this really wouldn't be an issue if we were running around outside in the yard when its 90 plus degrees.  But since she is sick and we are in the ice-locker section of the house, the little fingers can't handle the frozen pops! 
I grabbed a couple of felt strips and sewed some fun stitching.  And Voila! Freezer Pop Cozy(s)!


This ended up being perfect to cuddle up and watch movies with a sick little one. 
And it was SUPER quick and easy!


Have a look to the right to check out the excellent cites with Link Parties I linked this to!

Labels