
I am so excited to introduce you to some of my blogging friends!
They are helping me out for a bit, by doing some Guest Posts.
I would like to introduce to you;
Angelene from Little Buggie Tutu
If you haven't yet been over there, go on over!
TooT! DIY Festive Fall Tablecloth
If you haven't yet been over there, go on over!
TooT! DIY Festive Fall Tablecloth

Hello Allie's peeps!
I am Angelene and I am the proud Momma of a pretty little monster, er, I mean baby girl, that we call Buggie. I love to create and sew and totally love to come up with things that I can dress Buggie in or adorn my house with. I keep all of my crazy ideas (and ramblings) over at LBT - Little Buggie Tutu. I would love to meet all of you and hope that you can find something at LBT that you can relate to or would love to make yourself. Thank you so much for this opportunity to be a guest and share with you some of my craziness. =)
And a huge thanks to Allie for having me!!! Is she awesome or what?!?
This is my rendition of a Festive Fall Tablecloth...for about $10. Ya! $10. Sounds good, right??? Well let's make one!!!
Materials
Black sheet (or color of your choice) large enough to cover your table: $4-$6* depending on size
Fall Leaves: $2.50*
Metallic Thread: $1.94*
Sewing machine, pins, scissors, iron, patience ;) $0 if you already have these things
*Wally land prices
I chose a black sheet. I thought black would look sooooo good with the beautiful colors of Fall. It's also my favorite color and I couldn't see anything else on my table but black! I am using a TWIN size sheet to cover my table and then some.
We need to make our square/rectangular sheet into an oval. If you have a round table an oval will work but there will be lots of excess. You might need to adjust this part of the 'how-to' so that it works for you. If your table is square, or a rectangle, than just get the right size sheet to cover your table and skip to step 8.
1. Lay your sheet out flat. Now fold it in half width wise and then fold that in half again.


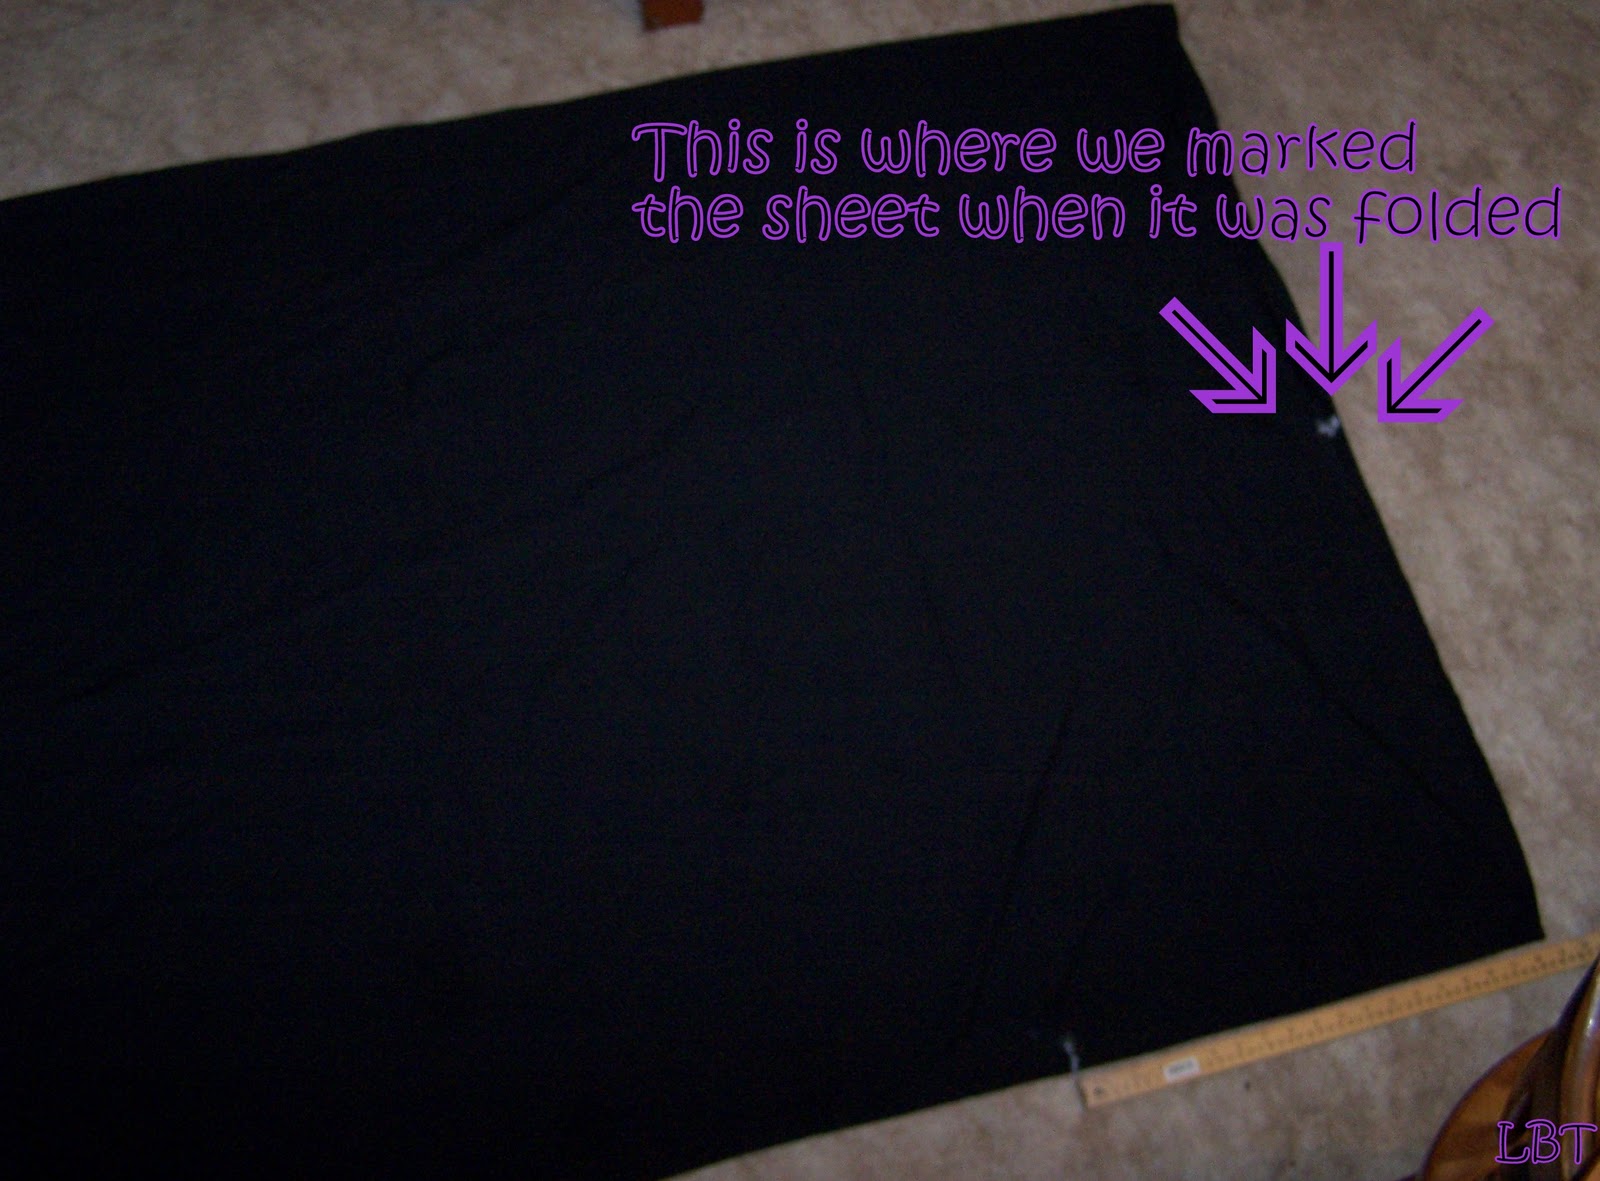
2. Now mark the area of the fold on both ends of the sheet with chalk. I just stuck my finger in the fold to wiggle it apart a bit and then marked it. Make sure you do this on each end of the sheet.


3. Unfold your sheet one time (do not unfold all the way) so that it is just folded in half. Now we need to mark the long edge of the sheet. (This is all in prep for cutting our rounded shape to make an oval.) Measure the long edge and then divide by 4. My long edge measured 75" so divide that by 4 and get 18.75" or 18-3/4". Now I measure in from the right side 18.75" and marked this with chalk and then did the same from the left side (see pics).


4. The pic I took for this next part just did not come out right so I will do my best to explain.
Once you have marked both ends of the sheet fold it half but the opposite of the way we originally folded it. So instead of folding it width wise again you are going to fold it length wise. Fold it so that the you see the marked edges once it's folded. So one side will have one set of marks and if you flip it over the other side will have the same marks. They should actually line up with each other. Check it so that you know that you have measured and marked those 18.75" marks correctly.

5. Now we are going to cut through all of the layers. Make sure you have a cutting mat underneath the sheet. I used my existing tablecloth's rounded edge as a guide. I layed it on the square connecting the chalk marks and traced the rounded edge. Then, using my rotary cutter (love that little beast!) I cut the rounded edge I just traced.


6. We need to cut the rest of the original hem off now that we have our rounded edges. Then either create a new hem or serge the edges of the entire sheet/tablecloth.

 |
| Serged edge...not sure what happened to this picture :/ |
7. Now you have an oval tablecloth! Nice!!! Try it on your table to make sure you like the size.


8. Now the fun part! Carefully peel the leaves off of their plastic stems. They should come off pretty easily just go kinda slow and steady.


I separated the leaves into piles by color.

9. Lay out your leaves all around your tablecloth until you get them in a 'pattern' that you like and then pin them on.

I also marked what I wanted to be the front of the tablecloth with small x's done in chalk.

10. Load your machine with the metallic thread. You only need to use it for the top thread. I used regular black for the bobbin.

11. Sew on the leaves. You can do this however you would like. I did mine by starting at the base of the leaf and following closely to the edges all the way around. When I got back to where I started I continued up the main 'vein' of the leaf. Then, on the larger leaves, I did a few of the small 'veins' that branch out. Make sure that you are back-stitching when you start and finish each stitch.


12. Admire your new tablecloth in all of it's AWESOME glory!!!


I know the pictures don't quite do it justice but the way the metallic thread shimmers off the light ever so subtly is spectacular!!! I am thrilled with the way it turned out and hope that you love it, too!
Please let me know if you have any questions. I would totally love to see your tablecloth if you try this out. Please send pictures to
I have really enjoyed my time here with you all! Thank you for having me and I do hope to see you over at LBT!!!
Enjoy your day...it is a GIFT!
PEACE, LOVE & Turkey
- bring it on!
A

Awesome tablecloth! Lovin' those leaves with the hint of shimmery thread!
ReplyDeleteWow! What a creative & original design! Good job with the metallic thread. Really makes it. Love the the entire look. The table top decor too. Nice touch with the palm.
ReplyDeleteVery cute, Allie! You are so creative. Stop by and link up with me any Thursday. :)
ReplyDelete