5.12.2010

I Love T-shirt Donations!

My lovely Aunt Shelley dropped off a good amount of clothes for me to go through before they go to Goodwill. One of the first things I found to play with was this t-shirt:


I cut off the sleeves, neck line and the back yolk area. Then added some elastic bobbin into my machine for the mid-section. Then I turned the raw edges over and cover stitched. This cute one will grow with her for a while. She likes it a lot. Now if the weather would cooperate...


5.11.2010

A Gorgeous

At our house, we have lovely curls like this:


Sometimes we look like this:


Sometimes, more often than I would like to admit, we look like this:


But usually, we look like this (if we are lucky):


I love her curls.  They are cute, springy and bouncy.  Unlike my curls... but that is something we will not go into today... My uncle, hopefully, loving calls her "Little Orphan Annie".  In public, her "loyal subjects" call the little princess "Shirley Temple". Last time we were in Hawaii, she would grab her hair and say, "Mine!" when the locals would comment and ogle at her hair. It was very funny.
Well, recently, AuBrynne has taken a liking to an episode of Max & Ruby that incorporates a beauty salon.  Well, she first gave herself bangs.  Luckily, she actually did better than any of us who try to do our own bangs at home.  Then she started asking for a "shampoo and a set".  Then she was bringing me my hair dryer and asking for "Gorgeous".  You see, previously, she would get very upset with anybody using a hair dryer. She would avoid it by thirteen feet.  So, when she pulled it out of the drawer, I was perplexed.
Well, when I would finish blowing out her hair and she looked like this:


She would exclaim: Oh, MOM! It's GORGEOUS!

So, I dropped by our local "hair store" today and searched till I found an Ariel colored weft of clearanced priced hair.  A few stitches while she sat patiently waiting to burst with excitement and telling us I was making her "A Gorgeous", and she was wearing this:


If I had thought a little further, I would have had the video camera ready.  Her reaction was Priceless!  She ran to the mirror and you would think she was going to faint from her excitement.  It was hysterical.  Then she ran to another mirror with better light and sure enough; IT'S GORGEOUS! 


So, then she had to run and get my hairbrush...


And then she began: "Appunzle, Appunzle. Let down your beautiful long hair..."

So, more for the dress up bin.

5.10.2010

Mother's Day

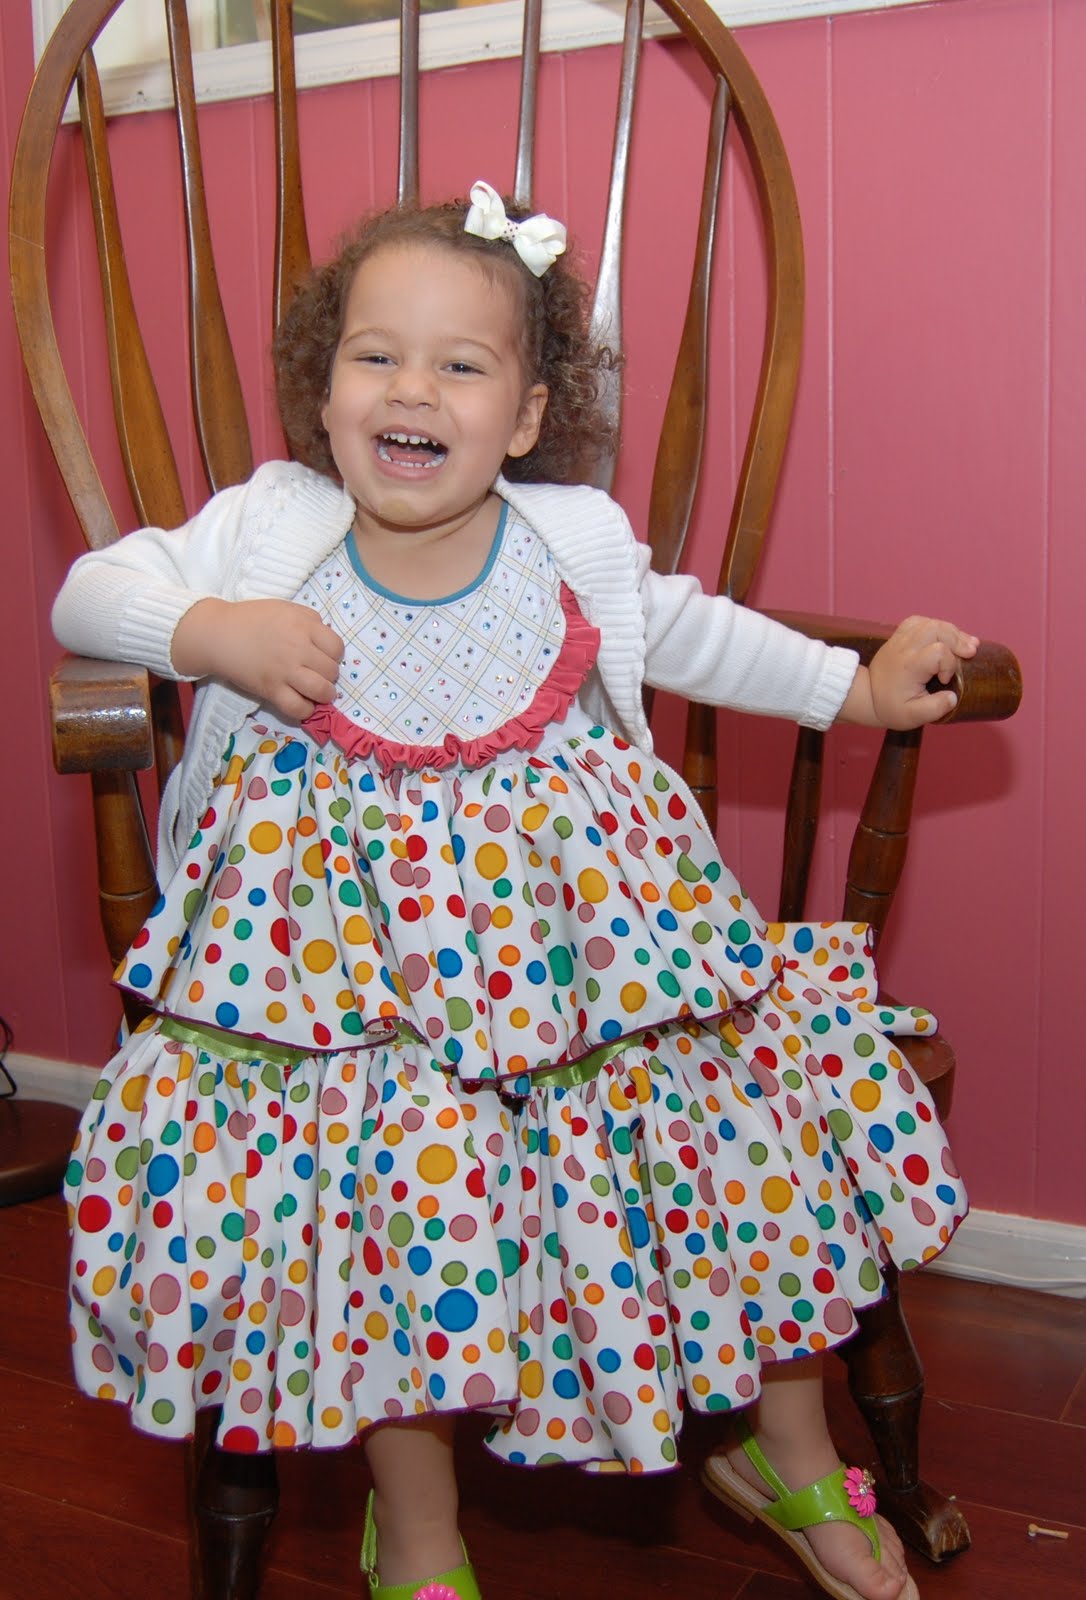
For Mother's Day, AuBrynne gave me something that was absolutely fabulous.  I made her a dress and she stayed in it ALL day.  A L L  D A Y .  And didn't get it dirty! The one of the best Mother's Day gifts!
With a cute cardigan.
And she kept the band-aid on her chin all day too.  I guess she figured making mom neurotic could have a break too...  I love her!  And I love my mom too.  She took AuBrynne to church with her and I had some real quiet time.  It was fabulous!

Momma's Shirt Refashioned to Baby's Dress

AuBrynne loves to wear my shirts.  I have mentioned this before.  If given the chance, she will take one of my shirts and wear it and FIGHT me to get it off to wash it.  So, I like to make her dresses out of my shirts that I have retired. 
This is one of those t-shirt refashions. This is the original:

It was barely long enough to hit the very top of my not-so-mom jeans.  So, it had to go... to the baby.  I think it was a good refashion.  She loves to wear this one.  It was done by adding elastic thread to the bobbin of my sewing machine.  Then steaming it with the iron.  The outcome is a very soft and toddler approved wearable dress.

5.08.2010

Princess Sized

I have said this before: Kids grow too fast! Well, this was little AuBrynne grabbing a quick nap in her bed that is getting cramped for her little 3 year old body.

It was so very cute.  I used the bumper pad stuffing forms and quilt batting to create a good amount of padding.  Then I tufted with brown rectangular flat backed sequins. I loved it.  But, alas, she grows. And sleeps diagonal and horizontal in the bed.  There were many times I would peek in on her before I would go to bed, only to find her legs dangling off one side with her head dangling off the other side.  Or she would just get her pillow and blanket and move herself to the floor. I know most kids can be in a standard toddler bed for a while.  But she's tall, darn it!  I'm 5'11" and her other half is 6'7". She will probably pass me in height just as I did my mother, by 4 four inches...
So, I decided to make her a new bed.  But given the oddly narrow dimensions of her room, it presented a unique puzzle.  If you put a full sized bed in the room, you can barely walk around it. And there is not a closet in the room, so there is a closet system attached to one of the walls, further complicating things. Oh, and there is one electrical outlet in the room... Lovely, I know. 
Anyway, I happened to be catching up on some interwebs craft surfing.  I have a lengthy list of sites I like to visit when I can.  There is a terrific site called Knock-Off Wood, that is great about inspiring others to make their own furniture, rather than paying Pottery Barn and the like prices.  She puts plans together with necessary items and measurements, so you can make them yourself.  I saw the new day bed she made for her daughter Grace here, and decided that would be perfect-ish.  It would be perfect if it were twice the size... So, I modified the plans just a bit.  I made it with the mattress still going long ways.  But I added another toddler mattress next to it.  I assembled it the same way as Grace's.  I grabbed a full sized memory foam pad and put it on horizontally and cut off the extra inches and put on a set of full sized knit sheets the regular length-wise way, wrapping the end under and attaching the extra to elastic clips to the bottom end.  Works FABULOUSLY!  A twin sized mattlasse topper, horizontal and the bed is perfectly Princess Sized.  (AuBrynne thought of that one)
Anyway.  AuBrynne LOVES her bed now more than she did before.  And its actually pretty comfy even for the tall mommy to lay down with her when she wakes up in the middle of the night, rather than stowing away in my bed.  And when our cousin was here to visit, who is 5 and a half and 1 and a half inches taller than her, it was PERFECT!  They could both sleep in the bed.  And actually, my aunt even got in the lay down between them till they went to sleep!  Not something I do, but since she gets to see them so rarely... But anyways, it was big enough.
So, no more chatter.  Here are some pics.


5.05.2010

Functional Aggression

You know when you have those moments that you just need to get some aggression out? Because something or somebody has gotten to you? You just want to vent, but that's even not constructive. Not effective?  You know, not really something you want to admit upsets you, but it does.  And all you need is a Productive Functional release??  I have a friend that chuckles at me because he knows when something like that has gotten to me, because I'm cleaning. And not that I don't clean, but that it will have been 12 hours since something was cleaned...  And he knows also because of how it's said: "Cleaning(!-but not)" Not yelling, but the exclamation is implied.
Some people clean, some people hit golf balls, or tennis balls or go shopping or shut the door and flip quickly through the channels on the tv. I either clean or create. Luckily I can reign in any of the negativity and create pleasant things.  Mostly because creating, for me, actually can change my mood.  It's like I can change my minds' focus and let go.  Anyway, I call it Functional Aggression. I don't know that it is completely normal, but it is the way it is.
Here is an example of some recent Functional Aggression.  Most of my products aren't so deconstructive, but this one is and probably expresses how I feel right now fairly well- a little raw and deconstructed from the outside - Thank you world population... It is a little P!nk inspired, but that can be good.
I first saw this technique forever ago in Oahu.  It works out really neat on very artistic t-shirts with dragons and/or floral.  I thought I would try it out on this test t-shirt I had made for myself. 


5.03.2010

Can You Guess...

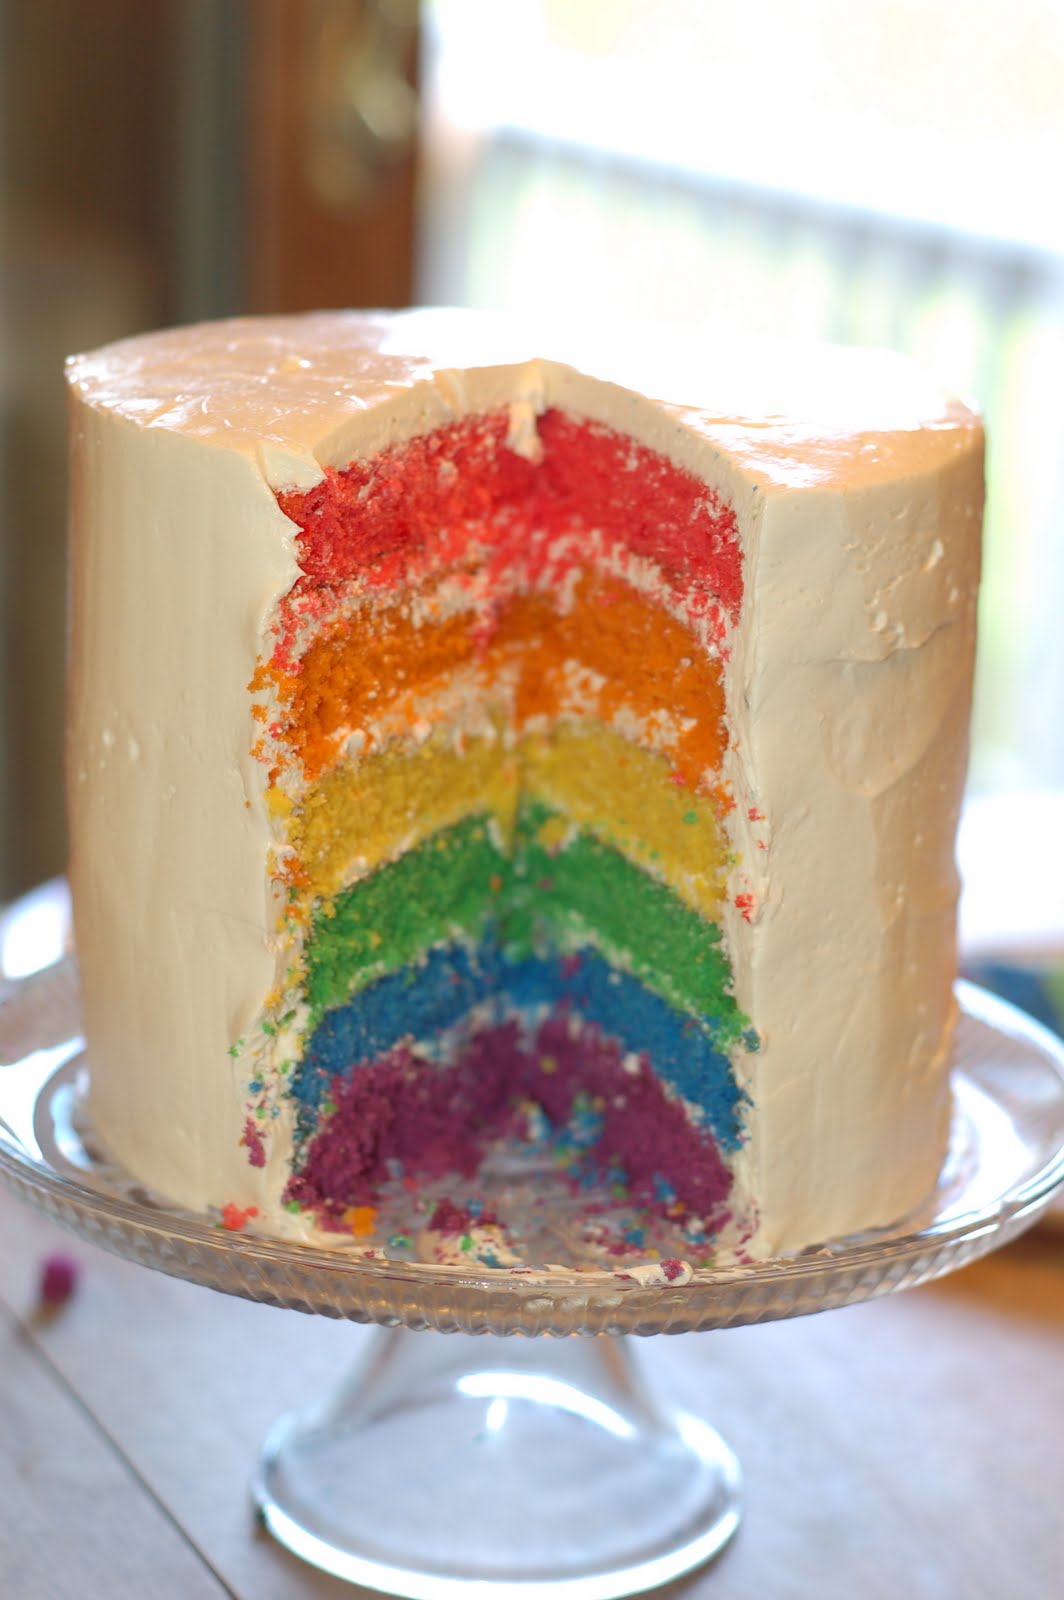
We had an eventful weekend. More about that later. But I wanted to share this.  I made this cake for a family gathering this weekend:
A little closer:


When people saw this creation, the conversation went like this (over and over again):
Guest: How many layers is THAT?!
Me: . . .(blank stare... coy grin)
Guest: What kind of cake is it?
Me: . . .Huh?
Guest: Ha Ha! I'm not gonna get an answer am I?
Me: How was your drive up?

That pretty well built up some suspense until it was time to let people dive into it. People actually gathered around to see what was in this thing!  And when they did! There was actually a few shrieks! Nobody has ever shrieked when I cut a cake before... Anyways, here it is, blow by blow.  I hope if you feel the urge to shriek, please do!


With frosting and cake layers the dimensions round out at: 7 inches tall and 9 inches wide.
How does one plate a slice of cake of this magnitude? Very carefully!  At first I tried a pie server and knife. It did the job if that was all you have.  But what worked ultimately, was two long knives. It worked best like this:


These were rather large pieces and so people shared.  Half a cake was PLENTY for 16 people.

So, here is the recipe for the Ultimate Rainbow Cake:

White Cake (Soon to be Rainbow Cake)

4 sticks Unsalted butter, soft, but still cool
4 2/3 cups sugar
10 egg whites
4 teaspoons vanilla
6 cups flour
8 teaspoons baking powder
1 tsp salt
3 cups milk
Red, orange, yellow, green, blue and purple food coloring. I like the Wilton colors, but didn’t have every color and the regular liquid ones worked just fine.

Preheat the oven to 350F degrees.

With a pastry brush, brush softened butter onto your 9 inch cake pans, they dust with powdered sugar, lay your parchment paper round into each pan. If you do not have 6 pans, divide this recipe by however many pans you do have.

Mix together the flour, baking powder and salt. Set aside.

Cream the sugar and butter with whisk attachment until the mixture lightens and become fluffy. Depending on how soft your butter is this will take anywhere from 3 to 7 minutes.

Add the egg whites one at a time. (But crack them into a bowl first so you don’t accidentally drop a yolk in) Add the vanilla and mix until fully incorporated.

Add, alternating, the flour mixture and the milk in 3 equal-ish additions.

Into six separate bowls, scoop two cups of batter each, making sure to use a spatula to get every last bit of batter into each bowl. Add your food coloring to each bowl and mix until you achieve the desired intensity you like. I wanted vibrant, so I added a little bit more than I thought necessary, which turned out to be a good thing.

When all is mixed (try not to over-mix so that you don’t make your cake tough); put your colored batters into each pan and deliver to the oven for 30 minutes. Depending on your oven, the time will vary, but the cake is done when it pulls from the sides and the center is firm, not jiggly.

Remove them from the oven, to a cooling rack in the pan until you can safely flip the cakes out. At this point, I flip the cakes every 20 minutes until they are cool, removing the parchment but not discarding it until you are ready to assemble your cake. If you choose to assemble your cake longer than several hours after they are cool, wrap them tightly in plastic wrap on the counter (up to 12 hours). More than that, refrigerate

Swiss Meringue Butter cream frosting (Allie’s Version)
10 large egg whites
2 ½ cups sugar
2 teaspoons Cream of Tartar
8 sticks unsalted butter, softened but still cool to the touch
2 teaspoons pure vanilla extract

(I did this in my Kitchenaid stand mixer’s stainless steel bowl)

Start a sauce pot of water to simmer on the stove. Place your bowl with sugar, egg whites and cream of tartar over simmering water. Whisk mixture constantly until the sugar is dissolved and a candy thermometer reads 140 degrees.

Remove and immediately transfer to stand mixer and whisk on medium. Let mixer mix until the bottom of the bowl cools to room temp. This may take more than 10 or fifteen minutes. At this point, the mixture will look like super silky marshmallow.

When you have a nice stiff mixture slow the mixing speed to medium low. Begin adding your butter, tablespoon at a time, making sure to let the butter incorporate fully before adding the next. It will make it look soupy for a bit then for a few moments near the end of adding it all in, it will look curdled. But it will smooth itself out and actually get light and fluffy! Add vanilla and whisk until just incorporated.

Labels